The Truth About Family Camping

Now let's get this straight off the bat: I love camping and I actively encourage families to camp but getting used to camping as a family takes a little work and effort.  My kids love so much camping that even when we are day hiking they ask to set up their tent so we can camp.  Just like everything else in life, family camping requires effort and frequent practice, with lots of my own practice I have found a few "truths" about family camping.

Truth #1: Parents are TIRED and Children are Refreshed

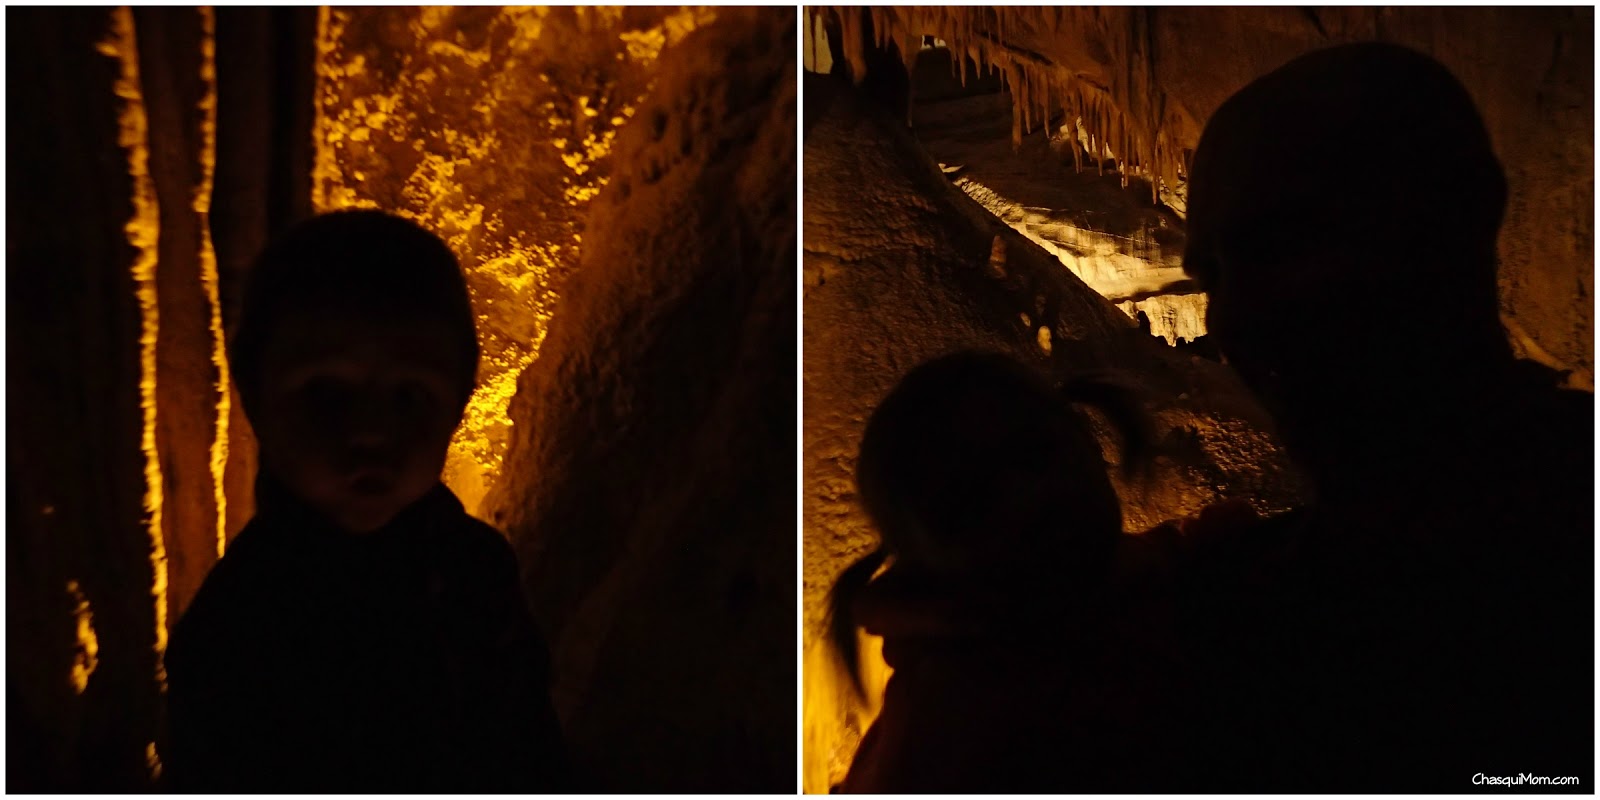
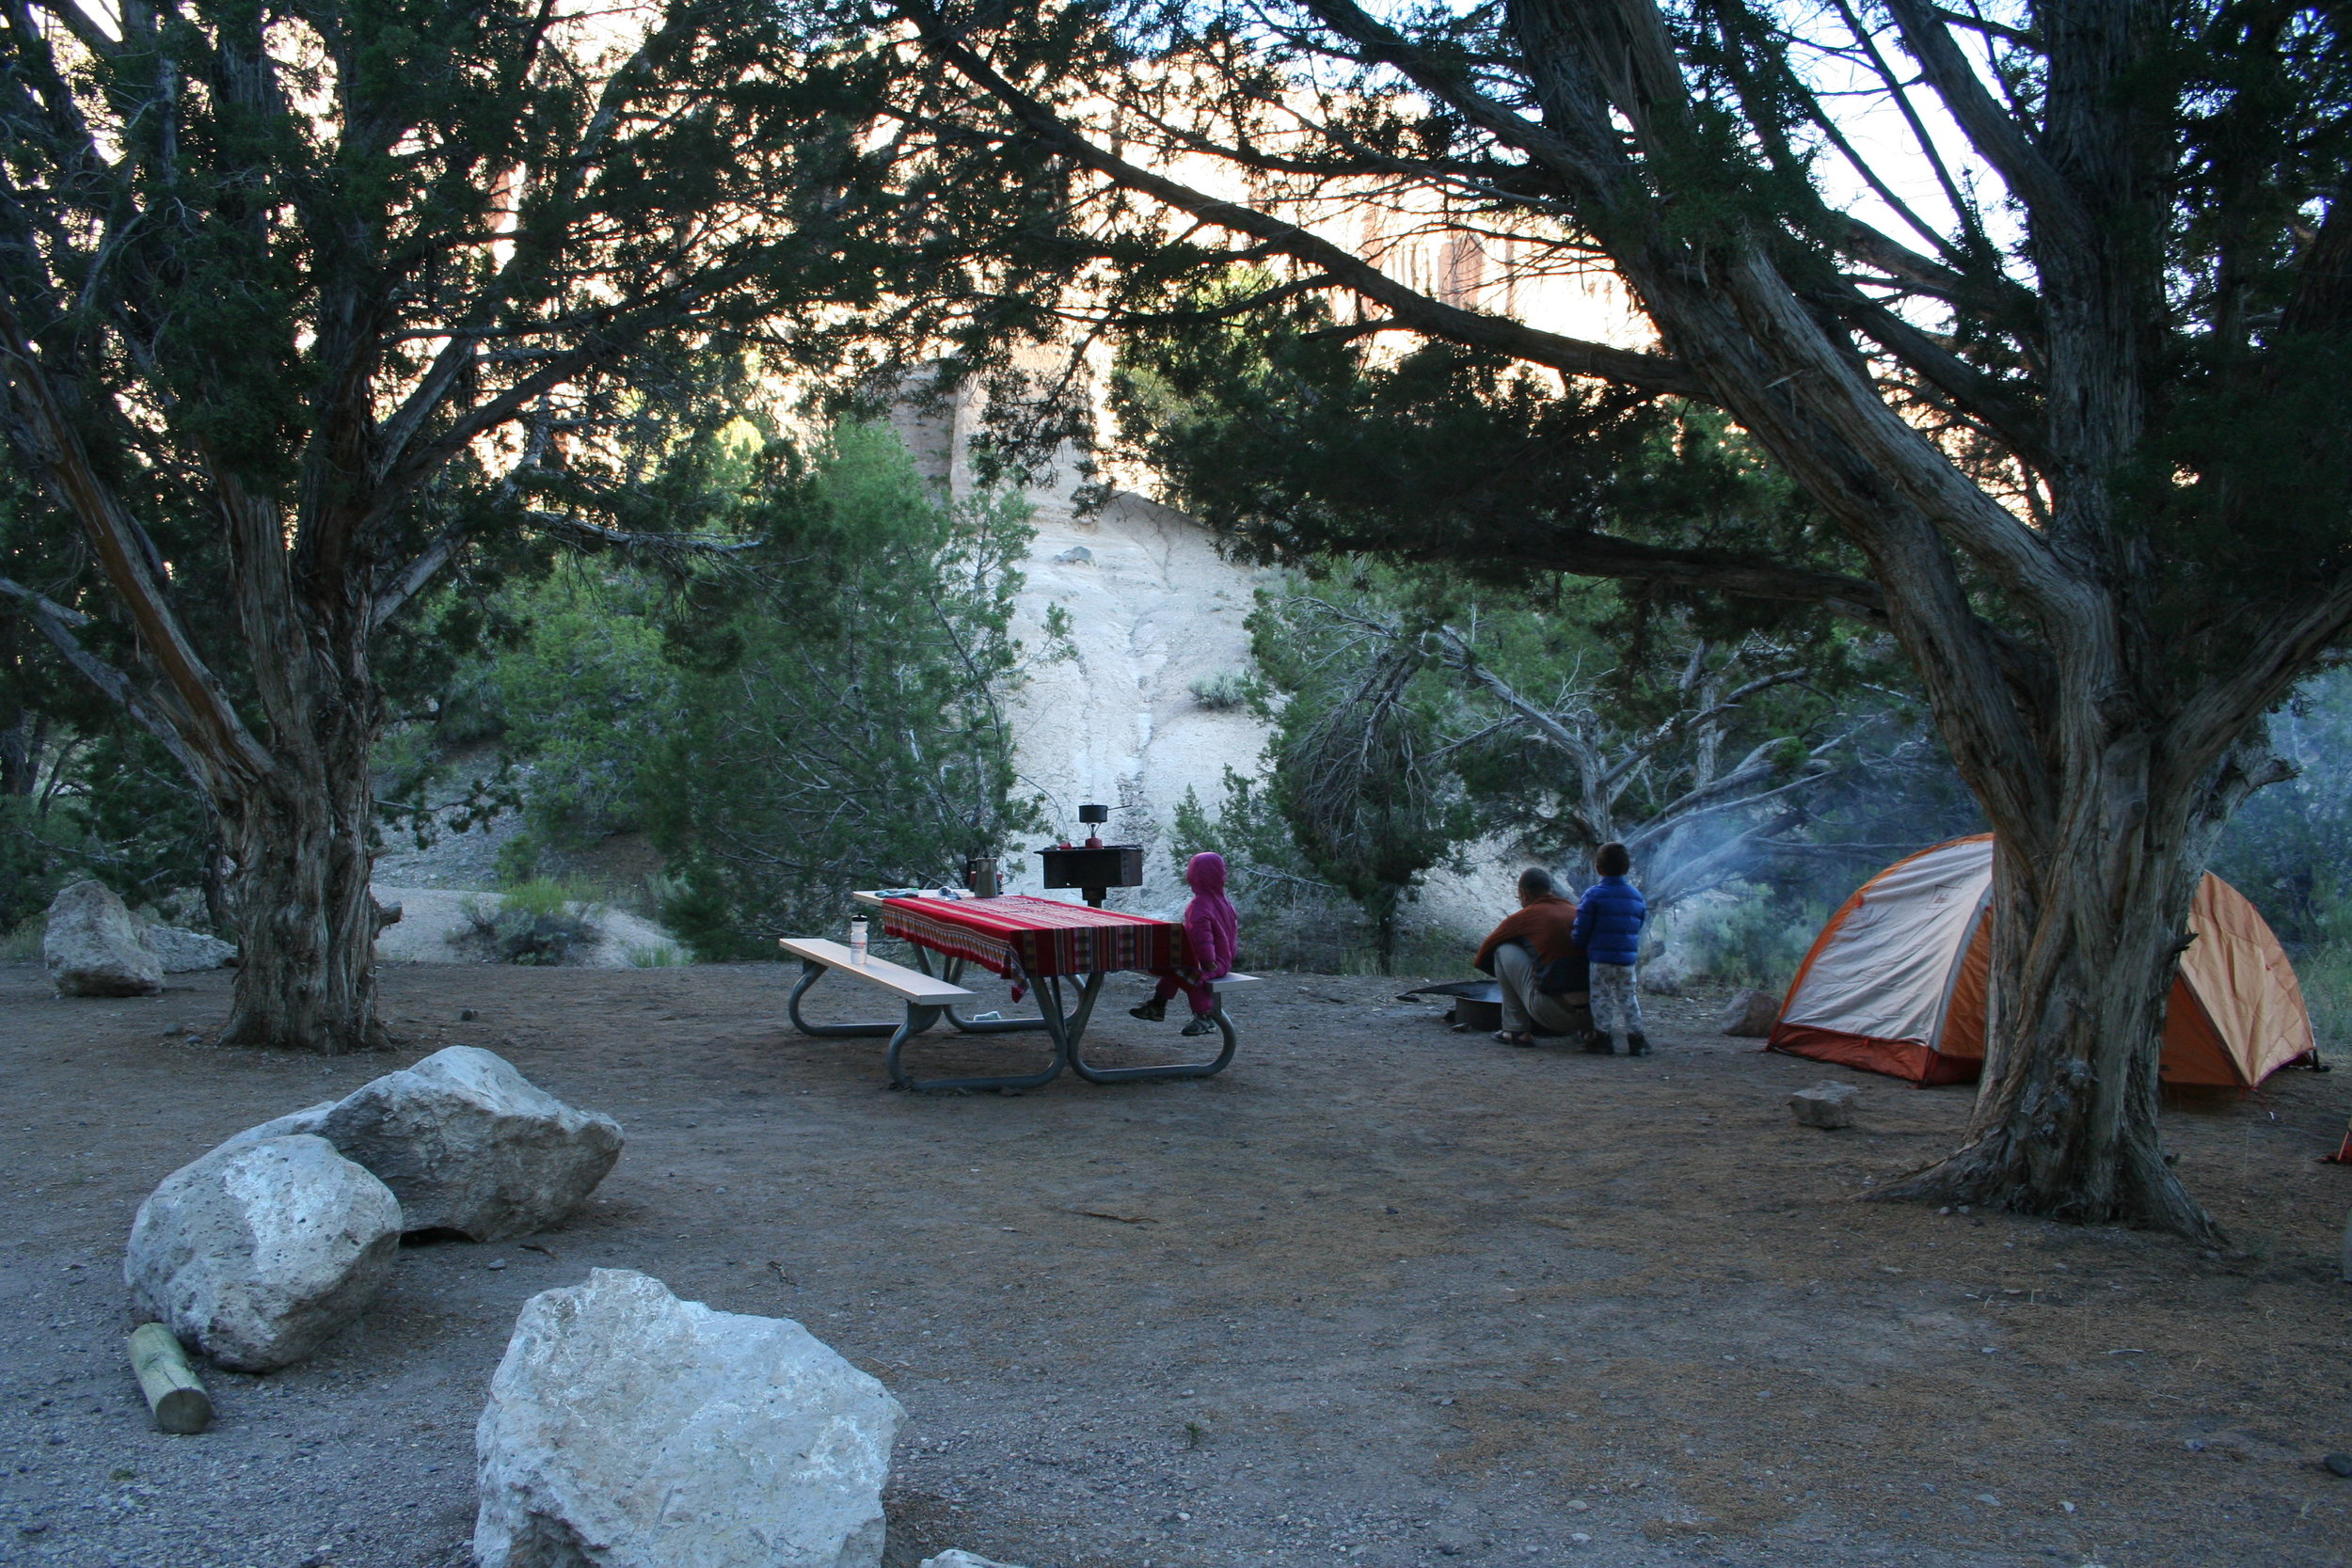
Per the photographic evidence, I have major bags under my eyes; parents usually wake up tired and the children wake up ready to take on the day.  Sleep is a struggle for many families when they take the bold leap to go camping for the first time.  My first experience camping as a family was awful but a few adjustments here and there made for better sleep.

My family co-sleeps, so our children feel right at "home" when we are all sleeping in a tent but my husband and I wake up exhausted from our children waking us up for WHATEVER (cold, hot, thirst, etc) reason throughout the night.  Even though my kids wake up multiple times a night they still seem refreshed in the morning and yet I am not.

Tip: Try to recreate the same home sleep environment and have the kids practice sleeping in their sleeping bags at home!  Also including hiking into camping trips helps the kids sleep.


Truth #2: Everything Gets DIRTY!

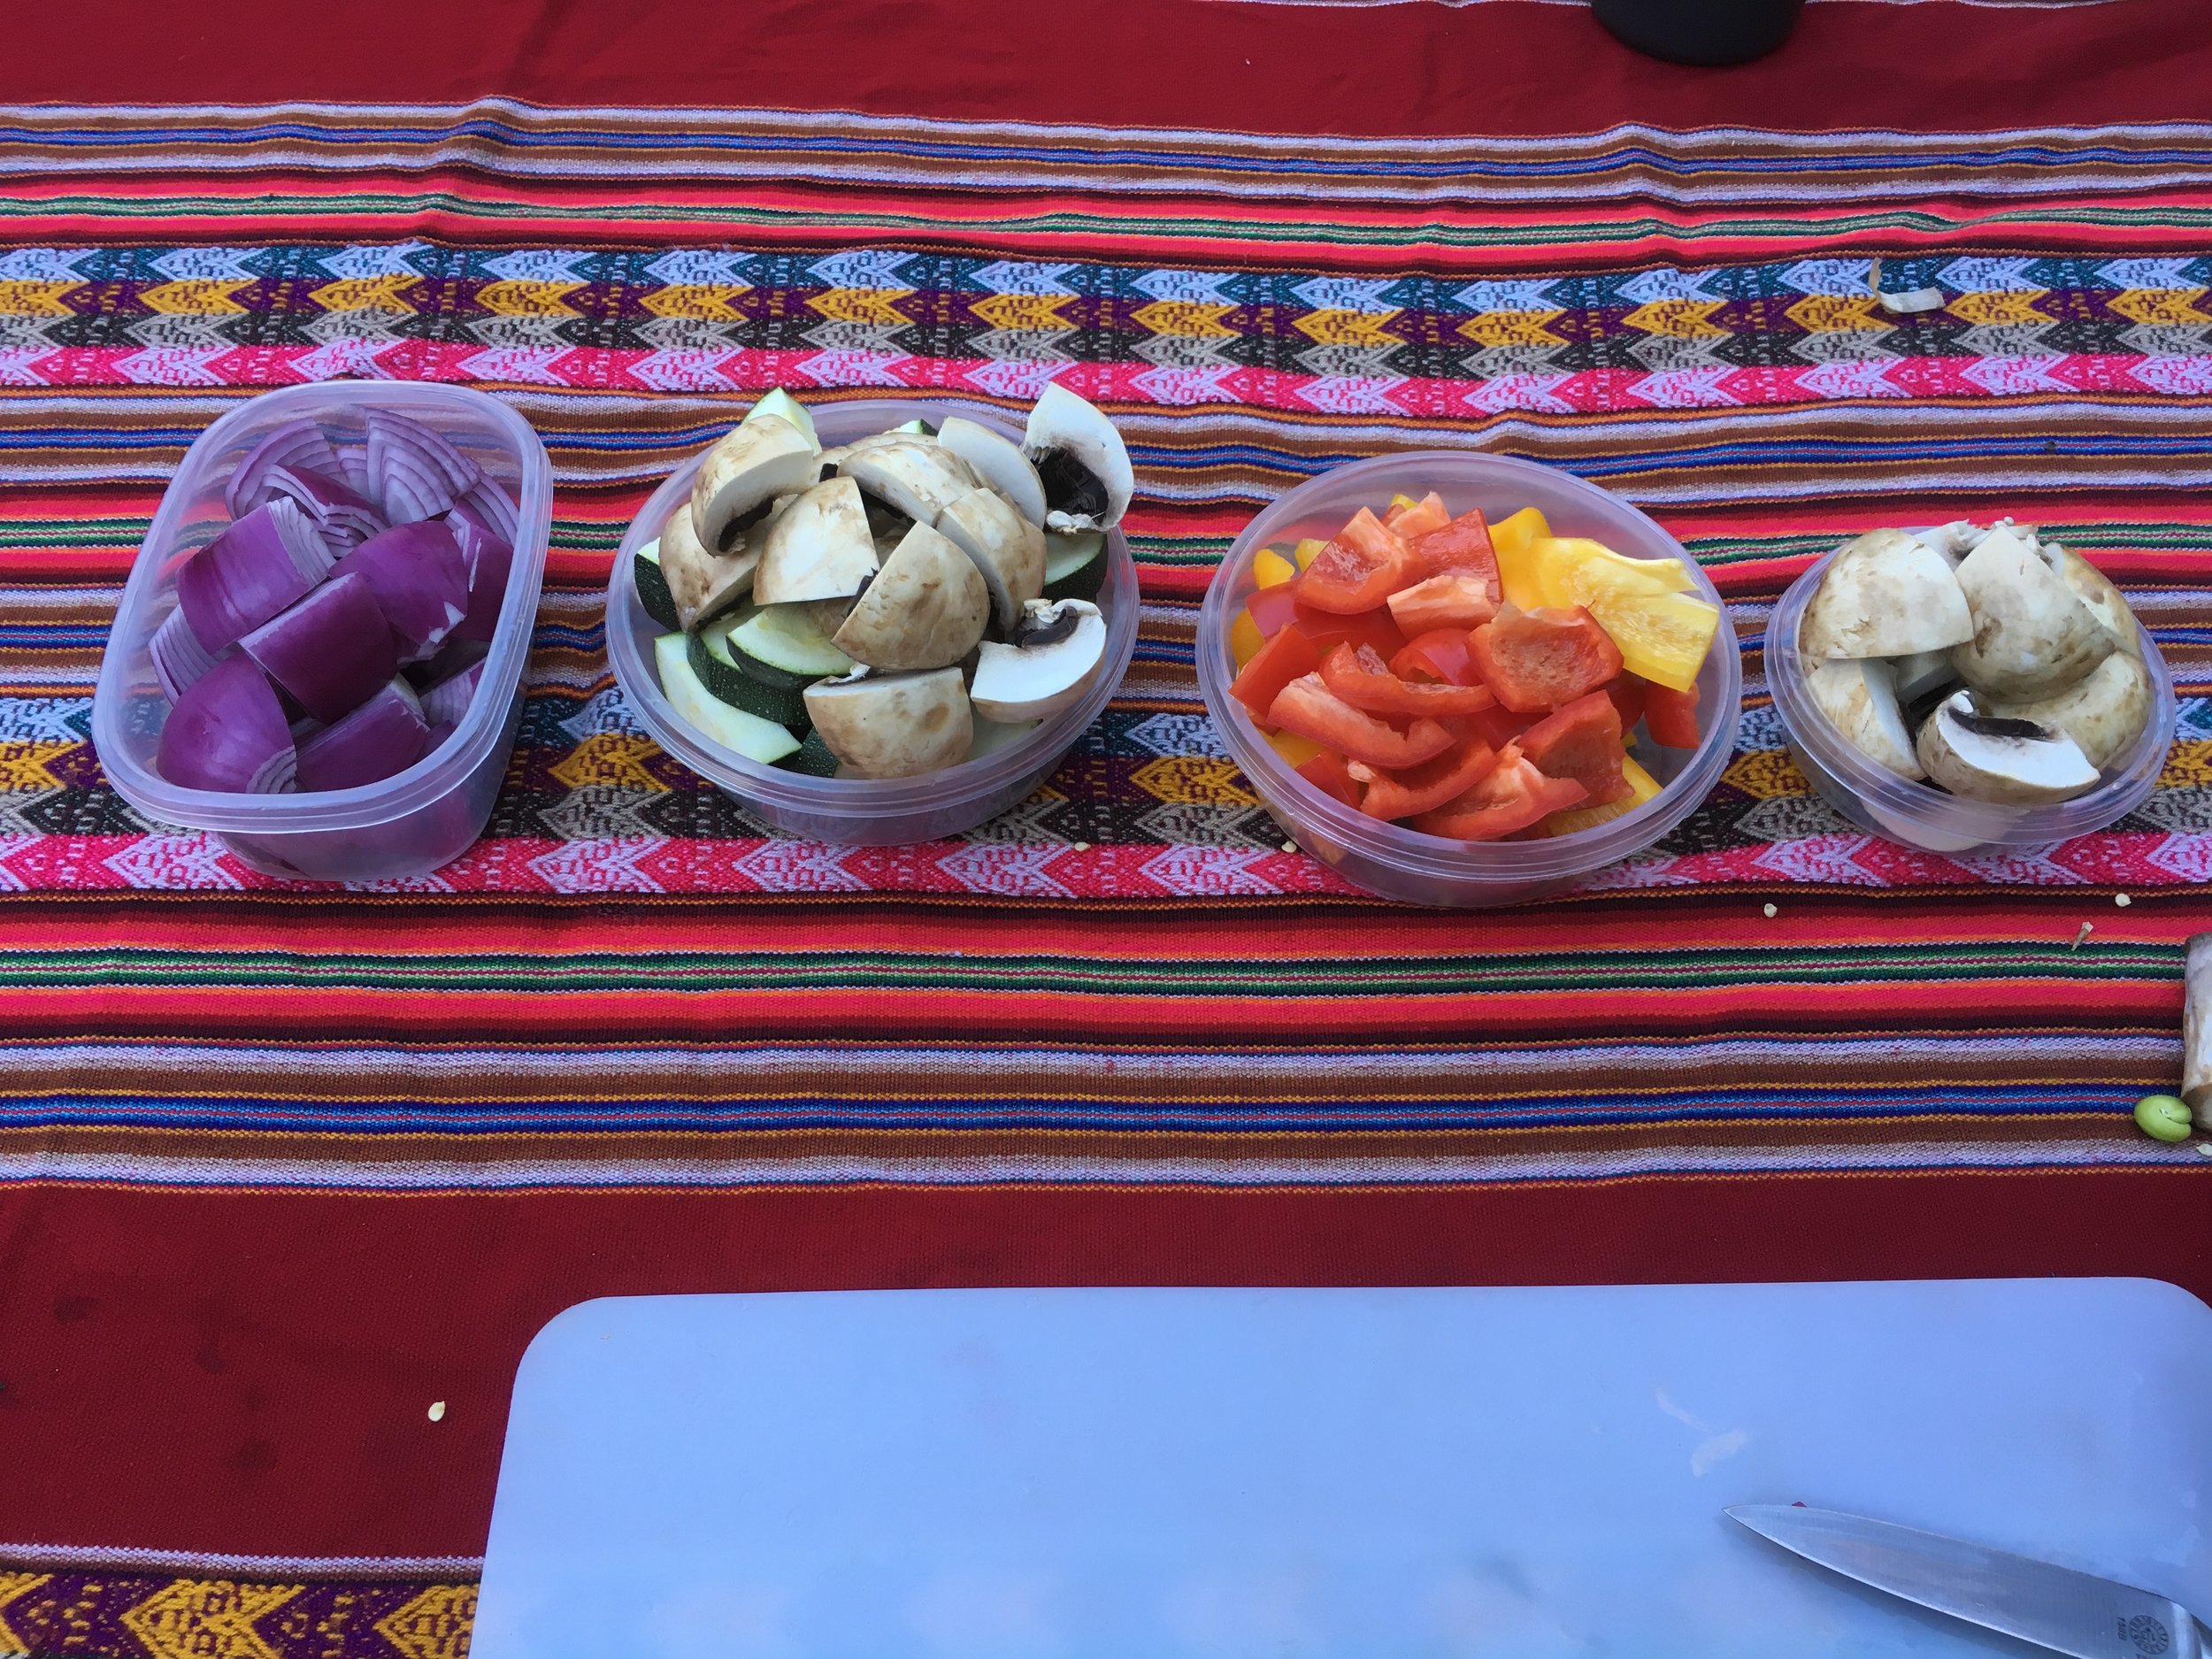
Cleanliness kind of goes out the window when you are camping, except for food preparation and bathroom policies.  When I became a mom I swear I could see the germs crawling on my pristine baby boy, but camping really helped me get over it.  I realized the dirt on my children hands, face and sometimes in their mouth was just going to happen.  Remember dirt can always wash off, after you get home!

Tips: Empty a camping box aka plastic storage bin and use it as a small bath tub if the kids get too dirty.  Baby wipes are also your friend.


Truth #3: Expect and Plan for Sickness

There's nothing worse than being outdoors and not being prepared for someone getting sick.  I have been on few trips where someone was sick and our entire camping trip had to be changed.  On our first camping trip as a family of four, my son and I came down with a cold on the car ride to our camping location.  Even though we were sick we still managed to have one of our most memorable camping trips.  Thankfully we had packed medication just in case.

I'm allergic to WHAT?!?!

I'm allergic to WHAT?!?!


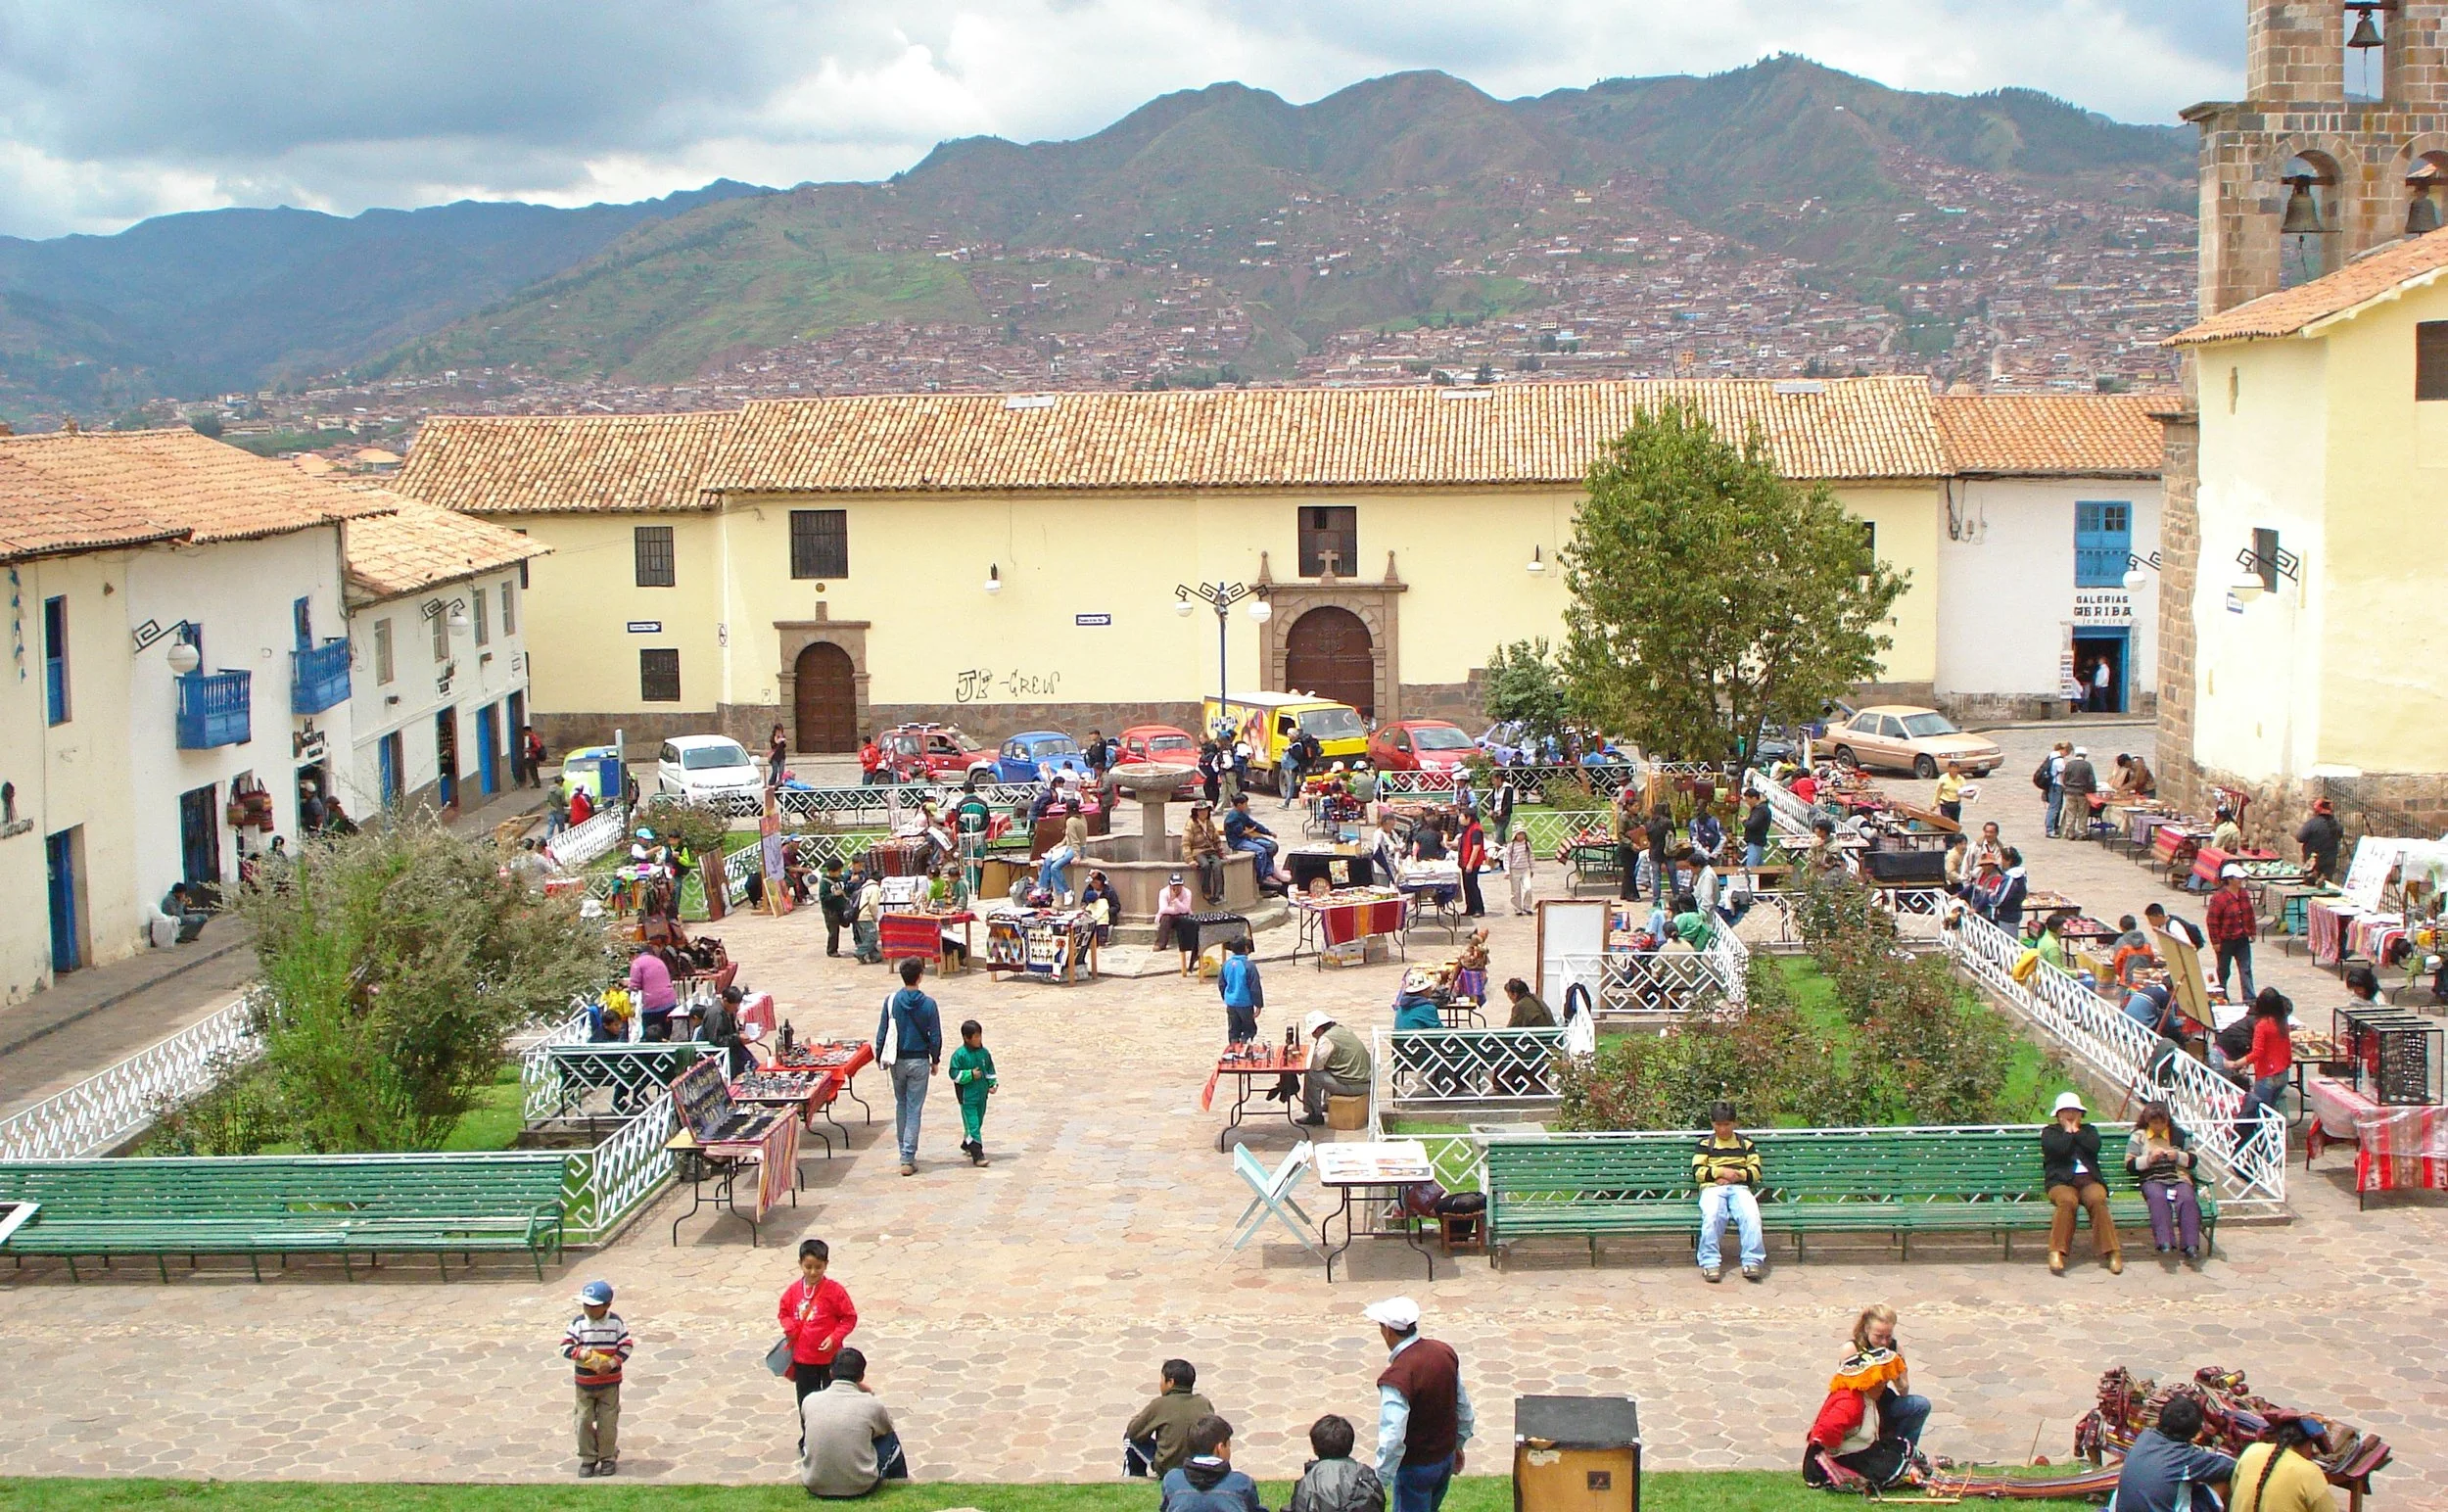
On another occasion I came down with altitude sickness and we couldn't do anything except go to a lower elevation and completely change our plans. If you are wondering about the picture above, I was having and allergic reaction to exercise, no joke.

Tip: Be flexible! If someone in your family gets sick make sure you have alternate plans like camp games so the rest of the family can still enjoy camping while others can recuperate.  Research where the nearest hospital or urgent care in case a real emergency occurs.


Truth #4: Forgetting Something Essential

Something will always be forgotten! From a bedtime stuffed animal, baby wipes, salt & pepper to even sleeping bags something is always left behind.  It's always better to bring less when camping, so what has help me reduce the forgetting essential items is having pre-packaged "camping boxes" with everything I know I will need.  Then all I really need to worry about is bringing clothes, food and my children's "essentials" such as stuffed animals and special items.

Tip:  Truly assess what is really "essential" a few days before to reduce last minute car packing panic!  Does your child really need all those toys while camping?


Chasqui Mom Last Thoughts...

Family camping is fun and worth the tiredness...trust me it does get easier when camping with little ones.  In the beginning my kids would not sleep in their sleeping bag and now they love it! We recently spent a week camping and all our "camping practice" had paid off because it was truly relaxing and restful for my family.  The truth is family camping just needs practice to work out the bumps to make it truly a great family experience!

Do you have any family camping "truths" that you have experienced?


Join in on the conversation by leaving a comment here! You can also join in on the conversations on Chasqui Mom's FacebookInstagram and Twitter that is updated daily with outdoor activities and other wonderful posts and links from #OutdoorFamilies!

A Wondrous World of Family Hiking in Muir Grove

Between every two pines is a doorway to a new world

~ John Muir ~

Have you ever seen a child romp through the forest? Have you listened to a child talking while walking through the mountains? Sure, hiking with children is difficult, slower, tedious and harder on your back, but there is a different level of wonder that is seen through a child's eyes.

Muir Grove in

Sequoia National Park

might not be a big attraction but it truly is a nice hike.  The great thing about Sequoia National Park is that there are Sequoias very near the General's Highway.  This gives great accessibility BUT this also means very large crowds which is something my family is not a big fan of.  We wanted to see the Sequoias but wanted the solitude of the "Outdoors", so off we headed hiking to Muir Woods near Dorst Creek Campground.

Hiking to the Sequoias

This is a moderate, family-friendly, 4.2 mile round trip hike to Muir Grove, but in all reality we added a little over 2 miles for a total of 6.3 miles from our campground in Dorst Creek.  We walked from our campsite to the trailhead but we got a little confused about where it was, we eventually found the Muir Grove trailhead but added two miles over all to the hike.  Every step adds up when you think about it.  The trailhead is

near the campsite #178

, which crosses a little bridge over Cabin Creek.

Immediately on the trail, we enjoyed the sounds of the flowing Cabin Creek and were glad the creek was not dried up yet due to

California's severe drought

.  It was quite refreshing to hear water flowing and to see the greenery all around us.

The hike has a slight uphill trail to Muir Grove with sections of flat and down hill sections.  The trail is a very shaded with just one section of exposed granite halfway to Muir Grove.  There were signs of bears everywhere....almost every fallen tree had been shredded by bears so we made sure our son never ran ahead.  I happily told my son to blow his whistle as much as he wanted!  Thankfully we never saw a bear while hiking to Muir Grove.  All we saw was lush beautiful forest greenery!!

Ferns galore...

Just hiking along...

My daughters view point from down below...

I would suggest taking a kid carrier for little ones who can't hike this distance.  My 4 year old son was able to hike the entire 6.3 miles but my 2 year old could not.  Of course when we saw the Sequoias down the trail, everyone got excited to see the REALLY BIG TREES!!

Entering Muir Grove

Doesn't matter how many times I see Sequoias I'm always blown away by their sheer size.  They provide a perspective that only Sequoias can provide.  Just seeing the Sequoias brought back my happy childhood memories of endlessly running around the base of the trees with my older brother. I was very happy we had hiked out to Muir Grove with my children.

"Daddy, Mommy! Those trees are REALLY BIG! And they have caves!" my toddlers squealed.  Now I understand why my parents brought my brother and me to Sequoia National Park so much.

When we arrived to Muir Grove, a couple of hikers were having lunch but they quickly packed up and left.  We packed our lunch as well: Bolillo sandwiches.  We enjoyed a picnic all by ourselves in the middle of Muir Grove.  After lunch, my son and I explored the "caves" and I happily listened to my son imagining finding bears in the tree hollows and pretending to scare them.  A little bit of family time at Muir Grove....

Time to EXPLORE....

Daughter hugging daddy, surrounded by the Sequoias hugging us....

Always look up....

The world from inside the tree, from my daughters eyes....

I must say this might not be a popular hike in Sequoia National Park but it was my family favorite.  Muir Grove...where we played hide and seek, had Bolillo sandwiches and pretended we were giant bears in the tree trunks.  Welcome to the world of family hiking, it's more fun this way.

Trail Report Detials

Who: Two Adults, Two Toddlers

Family Friendly: Moderate

Mileage: 4.2 miles from Trailhead, 6.3 actual from campsite

Elevation Change: 896 ft

Trails Description: Out and back trail, slight uphill hike

What's your favorite day hike in Sequoia National Park?

Join in on the conversation by leaving a comment here! You can also join in on the conversations on 

Chasqui Mom's Facebook

Instagram

 and 

Twitter

 that is updated daily with outdoor activities and other wonderful posts and links from #OutdoorFamilies!

Related Posts and Links:

  1. The Amazing Crystal Cave at Sequoia National Park
  2. Sequioa & Kings Canyon National Park ~ Official Website

The Amazing Crystal Cave at Sequoia National Park

One of my childhood dreams was to visit the, Crystal Cave in Sequoia National Park. Unfortunately the one time my parents tried to take us to the Crystal Caves the trail was covered with ice (during summer time!), so the National Park Service wasn't allowing visitors due to the slippery trail.

Years had past and I never visited, so we when we were planning our Sequoia trip this past June I made sure we were going to visit the beautiful stalactites and stalagmites!  There are really no words to describe the wonderful underground world but here are some tips and information about the Crystal Cave.

There is a little bit of hiking to get to the cave 1/2 mile for a total of a 1 mile hike roundtrip, this does not include the walking inside the cave. Very easy hike down to the cave but that means a steep hike up to the parking lot.

Tips for Families with Children

  • Soft Kid Carrier ~ A full blown kid carrier is probably over doing it for this 1-mile hike since ANY type of kid carrier is not allowed into the caves.  All bags, backpacks, kid carrier (fabric too) has to be left at the cave entrance.
  • Water ~ Bottled water is not allowed inside the cave but you can take the water and leave at the entrance of the cave.  We didn't bring any water which wasn't a big deal on the way down but we all got a little thirsty on the hike up.  Bring water down and leave it at the entrance before entering the cave.
  • Extra Layer ~ The cave is ALWAYS 50 degrees Fahrenheit, no matter what the weather is outside the cave.  It was in the 80's when we visited in late June, at first it felt great to be in this "natural air conditioned" cave but the change it temperature does make it chilly after a sweaty hike.  Take sweaters for the whole family especially for little ones who cool off quicker.
  • Darkness ~ Caves are dark, but they do have lighted areas or else we could not see all the great rock formations.  My toddlers enjoyed the semi-darkness but at one point of the tour, the guide turned off all the lights and it was completely dark.  Make sure you are holding your child, especially if they are scared of the dark.  No flashlights or flash photography is allowed.
  • Pricing and Ticket Location ~ Adults were $15/ticket, 5-12 years $8/ticket and under 5 years $5 ticket.  Tickets are not sold at the actual Crystal Cave bookstore.   Purchase tickets at one of the visitor centers.

The Crystal Cave Tour

The tour actually starts half an hour BEFORE the schedule ticket, i.e. 3:30 pm ticket time, meetup with guide at the book store at 3:00 pm to have enough time to hike down to the cave entrance.  If you get down early there is a beautiful waterfall and creek to relax by. Traffic to the Crystal Cave can be quite a hassle due to all of Sequoia's road construction, so we left 2 hours before our schedule time per the docents suggestion.  Photography is allowed but with NO FLASH, fortunately my camera had a nifty nighttime feature that allowed my pictures to come out.  I can describe the caves to you but I'd rather show pictures!

Walking through the first level....

My kids thought these were icicles and everything was snow to them...

The cave family...

Fairyland, those little stalactites were 100 years old....

Stalagmite (coming from the ground) aka Jabba the Hutt...

 Chasqui Mom Last Thoughts.....

I truly was beyond amazed by Crystal Cave, I couldn't even pay attention to the guide explaining how this beautiful place was created because I was so mesmerized by this place.  Something about the water flowing above and through the cave created it, over thousands and thousands of years. It was a family favorite during our week-long vacation at Sequoia National Park and my kids definitely have a fascination with caves now!

It might be a little touristy location for an outdoor enthusiast but I highly recommend visiting this Crystal Cave.  I'm glad that many years ago some National Park Rangers slid down this mountain on their butts and found the beautiful California treasure by accident.  Now thousands of people can experience this amazing place in addition to everything else Sequoia National Park has to offer.

Have you visited Crystal Cave or a similar marble cave? What did you love?

Join in on the conversation by leaving a comment here! You can also join in on the conversations on Chasqui Mom's FacebookInstagram and Twitter that is updated daily with outdoor activities and other wonderful posts and links from #OutdoorFamilies!

Related Posts and Links:

  1. Crystal Cave ~ Sequoia Natural History Association
  2. Pinnacles National Park ~ Bear Gulch Caves

Family Backpacking Series: How to Deal with Diapers and Potty Issues

Backpacking with toddlers isn't impossible!  We have had multiple successful backpacking trips with our toddlers since our youngest was in diapers.  Don't worry there will NOT be any pictures of my children on the toilet or any gross bathroom pictures.  The most common question I get from my readers about family backpacking is the bathroom issue with diapers and potty training.

"What do you do with diapers in the backcountry?

What about potty training on the trail?

What about accidents?"

Thankfully my children are almost fully potty trained and my days of diapers are almost over so I would love to impart my "Diaper and Potty Training" backpacking wisdom with anyone who is willing to go backpacking with little ones.

Diaper and Potty Training Equipment

  1. Disposable Diapers
  2. Baby Wipes and Toilet Paper
  3. Sanitation Trowel AKA "Poop Shovel"
  4. Extra Clothes for Accidents
  5. Freezer Gallon Bags and Sandwich Bags
  6. Hand Sanitizer

Diaper and Extra Clothing Calculation

I have a boy and a girl so as a mom of both genders, I have learned that boys and girls are different in the manner they go to the bathroom, especially in the angle of pee. Usually as parents, especially those with diaper wearing little ones, tend to OVERPACK especially when traveling, I am one of those! But when it comes with backpacking with little ones that is the worst thing you can do.

  • Diaper Wearing Babies/Toddlers ~ In the few days/week before going on your backpacking trip count how many diapers your child uses in a day.  Our first backpacking trip was when my daughter was 19 months old and was still in diapers.  Her diaper calculation was 3-4 diapers during the day and 1 diaper at night = 5-6 diapers in a 24 hour period.

*NOTE:

Change your child's diaper

RIGHT 

BEFORE

 you hit the trail and leave extras (not the calculation extras)

in your vehicle. Hence the reduction of one diaper in the average use of daily diapers on Day 1 & 3.  

  • Clean Diapers ~ Keep all clean diapers with all your toiletries at night.  Keep one diaper in your tent at night in case your child leaks.  One clean diaper won't have a bear tearing into your tent, well I hope, I'm still alive!
  • Clothing for Accidents ~ Whether you have a diaper wearing baby/toddler or in-process potty training toddler, you need to bring extra clothing in case of accidents.  For this reason, I HIGHLY suggest purchasing quick drying, wicking clothes for babies and toddlers.  Why you may ask? You only want to bring ONE extra set of clothing, so the wet/soiled clothing can be washed and dried in case you need to use it again during the rest of the trek.  I'm not one of those who say "Cotton Kills" but if you don't have "Hiking Clothes" for your children bring clothes that are light and could dry quicker than jeans.
  • Underwear Calculation ~ This really doesn't need a chart but one underwear a day plus one extra.  You can always wash a urinated underwear to wear the next day.

The Diaper Disposal

Sorry to burst your bubble but those dirty diapers just have to come along until your trek is done.  As part of Leave No Trace, you MUST pack out the soiled diapers.  Though there are somethings you can do to minimize the fact you are carrying human waste:

Do kids go in bear boxes?!

  • Backcountry Sites with Trash Cans ~ What?! There are hike-in or backcountry locations with trash cans as in our first family backpacking trip at Point Reyes National Seashore.  Of course you still want to minimize trash in these campsites, but it was really nice to be able to throw away diapers.
  • Bear Boxes, Canisters and Ziplock Bags ~  Let's start with what to do immediately after a dirty diaper is changed:
    • Stuff the diaper in a sandwich bag along with the baby wipes if it fits.
    • Put the diaper stuffed bag into a large freezer storage Ziplock, preferable with freezer bag with the zipper top.
    • Bear Country: Designate one bear canister as the trash canister and use that one to put the dirty diapers along with your other trash.  Proceed with normal bear canister procedures for your area (hanging, canisters at safe distance etc).  If your location provides bear boxes then keep the dirty diapers (in the freezer bags) in the bear box.  Even if you are not in bear country, like Point Reyes, still keep the dirty diapers in the bear boxes because there are other pesky wildlife around that would love to eat your child's diaper. Gross.
    • Poop Disposal ~ If the poop is solid (sorry...) and easily falls out of the diaper, dig a hole and bury it so you have less weight and smelliness on your trek.  Follow Leave No Trace, Principle No.3 Dispose of Waste Properly.  

Going "Potty" Outdoors

This section can be applied to day hiking as well, which I highly suggest can be used as an opportunity to practice for backpacking trips!  Obviously boys and girls go to bathroom differently and even though I believe we are equal, boys just have it easier when having to pee than girls.  So I will start with the how to go #2 outdoors since that is the same for boys and girls.

  1. Pull their pants and underwear ALL the way down to ankles.
  2. Hold their hands and have them "Sit down" on the invisible toilet, pretty much squat with their bottom sticking out as far as they can without falling over.
  3. Clean their bottom! Make sure you have baby wipes/toilet paper. poop shovel, hand sanitizer near by, before this point.  Baby wipes/toilet paper should be put in your sandwich bag or trash bag.
  4. Dig the hole with the poop shovel (Leave No Trace, Principle No.3), push the poop in with a STICK NOT THE POOP SHOVEL!! Cover it up.
  • Peeing for Girls ~ The same as going #2, except you don't need to dig a hole and have them spread their feet more so the urine doesn't dribble down her legs.
  • Peeing for Boys ~ Same as peeing in a toilet.  Just make sure their pants are pulled down far enough.
  • Ask every 15 mins if they have to pee, especially before putting them in the kid carrier!

You can also have them practice in your backyard, so its not so traumatic when you are backpacking or hiking.  Remember going "potty" outdoors might be scary for toddlers so make sure a parent is always with them when they have to go.  Diapers and potty training is part of parenthood and learning how to deal with this issue can be frustrating just at home.  But I can testify that backpacking with toddlers in diapers and in-process potty training trainees can be done!

Do you have any tips in dealing with diapers and going "potty" while backpacking?

Join in on the conversation by leaving a comment here! You can also join in on the conversations on 

Chasqui Mom's Facebook

Instagram

 and 

Twitter

 that is updated daily with outdoor activities and other wonderful posts and links from #OutdoorFamilies!

Related Posts and Links:

  1. Toddler Hiking Cycle
  2. Backpacking in Point Reyes National Seashore

The Simplicity of the "Manta"

Back in 2009, when I was roaming the streets of Cuzco I asked an Andean woman where I could get a carrier like the one she had. She smiled at me and said, "It's the one you use on your table!"  We laughed, told her I already had one and thanked her.  

My Peruvian tablecloth is definitely a staple in my outdoor gear which was given to me by my "Tia" (Aunt) when they immigrated to the United States.

On a cold, almost summer day, my family and I volunteered for a Clean Up Day at Limantour Beach in Point Reyes National Seashore.  Unfortunately I had forgotten one of the THREE kid carriers I own, so I improvised and used my Peruvian Blanket, tablecloth, "manta" as one of it's intended purposes: to carry my child.  

My daughter happily climbed into her "Peru Blankie" and was happy as can be.  

My daughter happily climbed into her "Peru Blankie" and was happy as can be.  

As a blogger many companies reach out to me to test their newest and coolest gear and I'm happy to accept.  Many times parents think we NEED the best and right gear before heading outdoors with our children or else we can't go...but I think back to my ancestors who never have a external frame kid carrier, fancy boots or wicking clothes and they carried their little ones in their "mantas" all up and down the Peruvian Andean Mountains.

So here's to all the mothers who for thousands of years have carried their babies in their "mantas" just like mine.  Thanks for reminding me of simplicity.

Do you have any cultural pieces that you use for the outdoors?


Join in on the conversation and leave a comment below! Help grow the outdoor family community by following me on FacebookInstagramTwitterGoogle+YouTube and Pinterest which is updated daily with outdoor activities and wonderful post from other #OutdoorFamilies.